Laser cutting is supposed to be precise, clean, and consistent—but when your machine leaves materials half-cut or edges jagged, it’s more than frustrating. It threatens your productivity and client trust.
If your laser cutting is incomplete, the most likely causes are low power, wrong focus, or dirty optics. You need to match machine power to material thickness and inspect alignment, optics, and parameters regularly.
It doesn’t matter whether you're running a fiber laser or a CO₂ engraver—cutting issues are almost always solvable. At Kirin Laser, we’ve worked with global clients in dozens of industries. Below are the most common problems and how I advise solving them.

What to do if a laser cutter didn't cut all the way through acrylic?
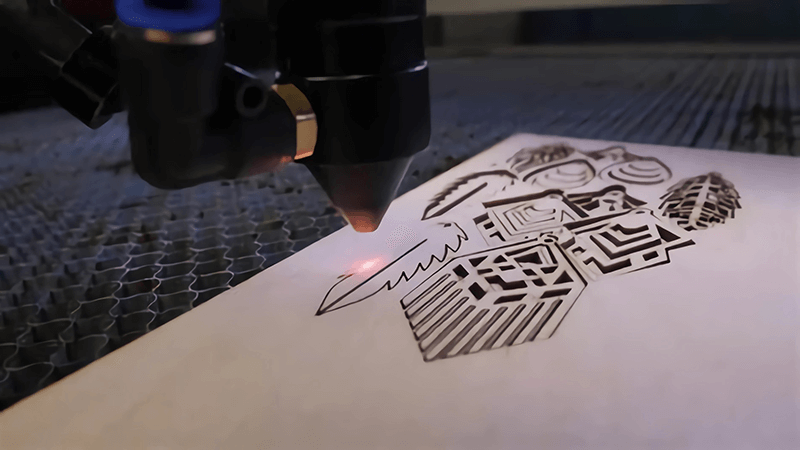
Your laser stops halfway. The acrylic looks like it’s scored, not sliced. Panic sets in, especially when you’re running a production job. You wonder if your machine is failing. But this is usually a fixable issue.
If your laser cutter didn’t cut all the way through acrylic, check the power level, cutting speed, focus position, and lens condition. CO₂ lasers need precise focus and clean optics to perform properly on acrylic sheets.
Diagnosing acrylic cutting issues
Most acrylic cutting failures happen due to CO₂ laser misconfiguration1. Here's how to troubleshoot effectively:
1. Power and speed mismatch
Acrylic needs enough energy density to melt or vaporize cleanly. If the power is too low or the speed too fast, the beam won't penetrate fully.
| Acrylic Thickness | Suggested CO₂ Power | Cutting Speed (mm/s) |
|---|---|---|
| 3mm | 50W+ | 10–20 |
| 5mm | 60W+ | 5–10 |
| 10mm | 100W+ | 3–5 |
2. Focus settings
Your laser must focus within the acrylic for the beam to converge properly. If it's too high or too low, energy will scatter.
3. Dirty optics
Even slightly dusty mirrors or lenses reduce beam strength. I’ve seen 80W lasers behave like 40W units due to dirty lenses.
4. Air assist flow
Poor airflow allows melted acrylic to re-solidify in the kerf. Check for clogs or weak pumps.
Practical tip
One of our clients in Europe had trouble cutting 8mm cast acrylic. His 130W machine was underperforming. After adjusting the focus to 2mm below the surface and swapping out a dirty lens, he could cut cleanly at 6mm/s.
Why is my laser not cutting all the way through?
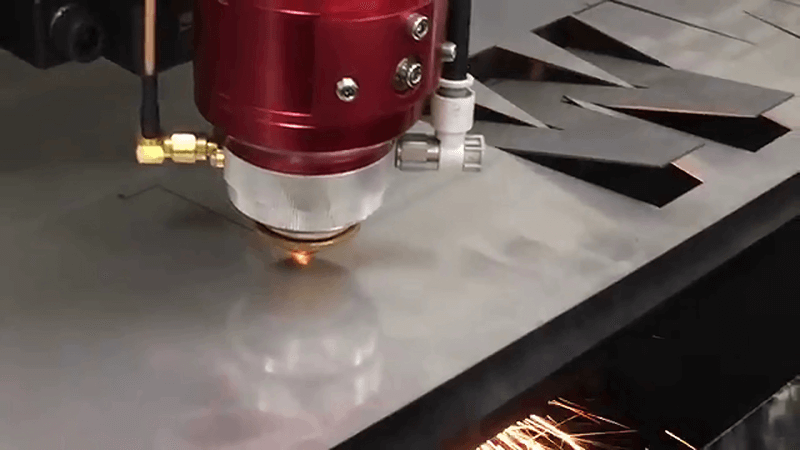
You’re running a job on metal or wood, and halfway through the job, the laser stops cutting cleanly. It might etch the surface or leave jagged marks, but the material is still connected.
A laser that isn’t cutting through may have low wattage for the material, wrong focus settings, contamination on optics, or slow beam alignment drift. Machine power must always match material thickness and density.
Why this happens and how to solve it
1. Laser underpowered for the material
In laser cutting, wattage equals cutting potential2. Fiber lasers3 below 1000W can't cut thick stainless or carbon steel.
| Material | Min Power Needed |
|---|---|
| 3mm SS | 1000W |
| 6mm SS | 2000W |
| 10mm Carbon Steel | 3000W |
At Kirin Laser, we always ask clients: What thickness and speed are you aiming for? A client once used a 1000W laser on 6mm stainless and got incomplete cuts. We upgraded him to a 2000W machine, and he’s now pushing jobs out 3x faster.
2. Focus lens issues
Fiber laser focus shifts even by 0.1mm can impact penetration. Automatic focus heads solve this, but you still need to check calibration weekly.
3. Contaminated optics
Fiber systems use collimating and focusing lenses. If smoke or spatter lands on them, beam quality drops. I recommend cleaning weekly with ethanol and a cleanroom swab.
4. Alignment drift
Over time, beam path alignment can shift, especially in CO₂ machines. If your machine has no auto-correction, consider periodic manual calibration.
Why is my laser cut circle not round?
Circles that look like ovals? That’s often not a cutting issue—it’s a motion issue. But in some cases, beam quality or slop in mechanics causes distorted geometry.
Laser cut circles become non-circular due to X-Y axis backlash, slippage in belts or screws, software settings, or misaligned mirrors in CO₂ machines.
Getting to the root of shape distortion
1. Mechanical backlash
If your axis has slack or your drive belts are worn, direction changes cause lag. That creates oblong or squashed shapes. You need to:
- Check and tighten all belt tensions4.
- Inspect lead screws and gears for wear.
- Re-home your machine and run a circle test.
2. Speed-to-acceleration mismatch
Running small circles at high speeds requires high acceleration. If your machine’s settings are too aggressive, it overshoots.
| Diameter (mm) | Suggested Speed (mm/s) | Acceleration (mm/s²) |
|---|---|---|
| 10 | 8–12 | 300–500 |
| 20 | 15–20 | 400–600 |
3. Software error
Some post-processors export arcs as short line segments. Make sure you’re using correct file formats (like DXF with spline support) and not forcing too many G01 commands.
4. Optical misalignment
For CO₂ lasers, if beam alignment is off, especially in diagonal movements, cuts deform slightly. Always align mirrors using the tape test on all corners.

Why is my laser cutter not cutting accurately?
Your machine seems fine, but the results are consistently off-target. Shapes are cut too small or large, or holes don’t line up with edges. This can ruin entire production runs.
Laser cutters lose accuracy due to improper calibration, thermal expansion, mechanical wear, or incorrect step settings in the motion controller.
Solving accuracy issues
1. Step calibration
Laser cutters use stepper or servo motors. If your step/mm5 value is wrong, all sizes are scaled incorrectly. Run a calibration grid test to fix this.
2. Machine wear and tear
Bearings, rails, and belts wear over time. Even a few tenths of a millimeter of slop shows up clearly in precision jobs. Replace or tighten components as needed.
3. Thermal expansion
In longer jobs, the bed or gantry heats up, expanding metal parts. This subtly shifts geometry. Some high-end Kirin machines include thermal compensation firmware6 to account for this.
4. Material warping
Sometimes, it's not the machine—it’s the material. Wood and thin acrylic sheets can warp during cutting. Use clamps or vacuum tables for flatness.
My story with a U.S. client
A distributor in Ohio once told me, “Your machine is cutting 2mm off every time.” I logged in remotely and ran a compensation check—his steps/mm were 5% off due to a firmware reset. We fixed it in 15 minutes. His next batch of parts came out perfect.
Conclusion
Laser cutting7 issues like incomplete cuts, off shapes, and poor accuracy are common—but they’re also easy to solve when you know what to look for. At Kirin Laser, we build machines with power, precision, and smart features to reduce these problems. And when they do come up, we back our partners with solid technical support and tailored solutions. Whether you're cutting metal or engraving acrylic, the right setup makes all the difference.
-
Understanding CO₂ laser misconfigurations can help you troubleshoot and improve your acrylic cutting results. ↩
-
Learn how wattage influences cutting potential to optimize your laser cutting processes and material choices. ↩
-
Explore the benefits of Fiber lasers to understand their efficiency and effectiveness in various cutting applications. ↩
-
Understanding proper belt tensioning can enhance machine performance and prevent shape distortion. Explore this resource for expert tips. ↩
-
Understanding step/mm calibration is crucial for achieving precise cuts in laser cutting machines. Explore this link to enhance your knowledge. ↩
-
Learn how thermal compensation firmware can improve cutting accuracy by accounting for thermal expansion in machines. This resource is invaluable for precision work. ↩
-
Find the best laser cutting machines and laser cutting solutions from Kirin Laser, clicking this link to get your best product for your business. ↩