Laser marking sounds simple—just aim and fire, right? But the truth is, even small missteps in setup, calibration, or material prep can lead to weak marks, wasted time, and costly rework.
To use a laser marking machine, you need to match laser settings to your material, align your parts securely, run precise test marks, and adjust parameters like power and frequency before mass production.
Getting laser marking right means going beyond plug-and-play. At Kirin Laser, we help clients go from uncertain trial-and-error to confident, consistent results. Let’s break it down step by step.
How to set up a laser marking machine?
Many users unpack a laser machine and expect it to work out-of-the-box. That’s rarely the case. A bad setup leads to alignment issues, poor focus, or safety problems—all of which can stall production or damage materials.
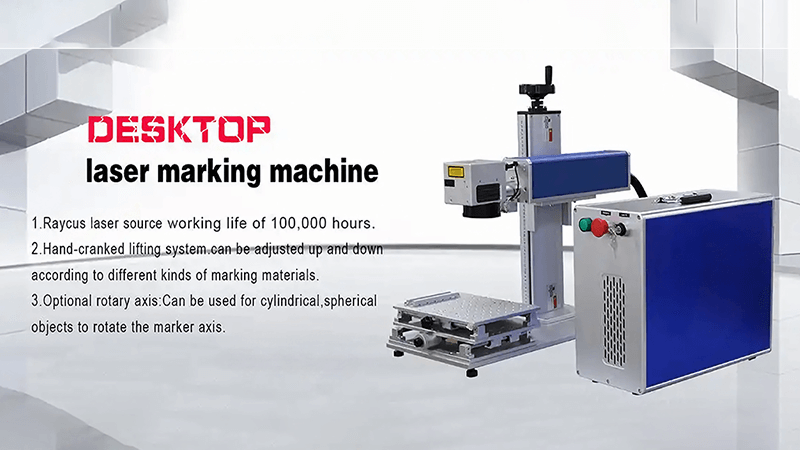
Setting up a laser marking machine starts with positioning, grounding, ventilation, and safety checks. You then connect software, calibrate focus, and fine-tune laser parameters before marking anything.
Understanding Setup Basics
At Kirin Laser, we guide customers through four major setup stages:
1. Physical Setup
| Task | Why It Matters |
|---|---|
| Unbox on stable, clean table | Avoid vibration and dust |
| Ensure grounding and proper voltage | Prevent electrical noise and instability |
| Connect exhaust or fume extractor | Laser fumes damage optics and lungs |
| Align laser head with workspace | Guarantee accuracy |
2. Software Configuration
Install the marking software1 provided—often EZCAD or JCZ software for fiber lasers. Load drivers, connect via USB or Ethernet, and ensure your machine is recognized.
3. Safety Checklist
Ensure interlock systems work. Wear protective glasses rated for the laser wavelength (e.g., 1064nm for fiber). Never look directly at the beam—even reflections can damage eyes.
4. Calibration and Testing
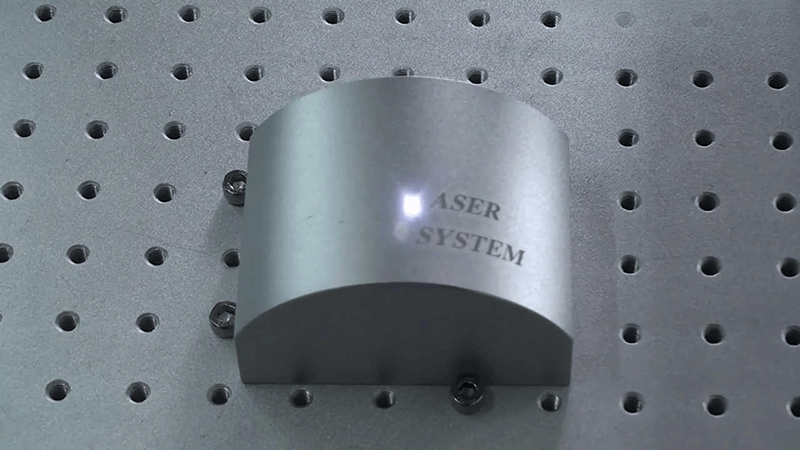
Use the focusing tool (like a red light pointer or ruler) to set correct working distance. Start with low power and run a simple test square. Inspect results for clarity and depth. Adjust before moving to production.
Even with a factory-calibrated machine2, real-world materials behave differently. We always recommend running tests with your actual parts before ramping up production.
What do I need to start laser engraving?
It’s common to assume that a laser machine alone is enough. But laser engraving needs more than just hardware—you need the right environment, support tools, and a learning curve mindset.
To start laser engraving, you need a laser machine, compatible software, protective gear, test materials, and a clean, ventilated workspace. You’ll also need time to understand how settings affect different materials.
Starting with the Right Tools and Mindset
Let’s break it down:
Essential Equipment Checklist
| Item | Function |
|---|---|
| Laser machine (fiber, CO₂, UV)3 | Core engraving tool |
| Computer with control software | Design and parameter control |
| Materials (metal, plastic, etc.) | Actual parts to engrave |
| Focus ruler / autofocus system | Precision in marking |
| Ventilation system | Remove fumes and particles |
| Safety goggles | Eye protection |
Optional but Useful
| Item | Benefit |
|---|---|
| Rotary attachment | Engrave cylinders (cups, tools) |
| Air compressor | Reduces smoke buildup on lens |
| Calibration targets4 | Align focus and test power |
Learning Curve
Even experienced engineers need time to tune parameters. At Kirin Laser, we often tell clients: Start with one material. Learn how it reacts. Tweak power, speed, and frequency gradually. Document what works.
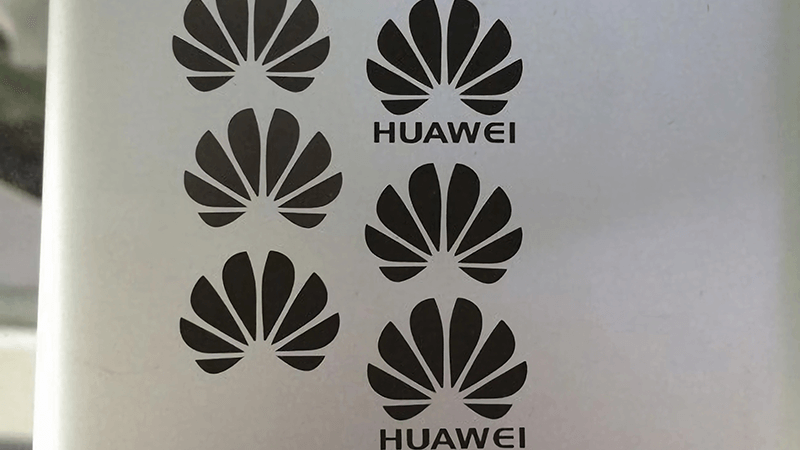
One client started engraving brass logos. His first marks looked faded. We guided him to reduce speed and increase frequency. The result? A deep, clean mark—and a repeatable process for his entire production line.
What frequency setting for laser marking?
Many beginners ignore frequency. But it’s one of the most powerful tools in your parameter toolkit. The wrong frequency can scorch the surface, create uneven edges, or leave faint marks.
Laser frequency affects the energy pulse rate. For fiber lasers, 20–100 kHz is typical. Lower frequency gives deeper marks. Higher frequency produces smoother, finer detail—ideal for plastics or thin metals.
Dive Deeper into Frequency Control
What Is Laser Frequency?
Laser frequency5 (in kHz) refers to how many pulses the laser emits per second. Fiber lasers deliver pulsed energy6, unlike continuous lasers. The pulse frequency directly impacts mark quality.
How Frequency Affects Materials
| Frequency (kHz) | Material Response | Best Use |
|---|---|---|
| 20–30 | High energy per pulse | Deep engraving on metals |
| 40–60 | Balanced output | Logo marking on stainless steel |
| 70–100 | Smoother but shallower | Plastic, anodized aluminum |
Real-World Tip
A customer marking coated aluminum signs saw burn marks. His frequency was too low. We increased it from 30kHz to 60kHz. The result was a cleaner edge with no charring. That small tweak saved hours of rework.
Frequency + Speed + Power = Results
Frequency doesn’t work alone. It must be balanced with power (watts) and speed (mm/s). If you raise frequency, you may need to reduce power slightly to avoid overheating.
At Kirin Laser, we offer parameter presets for common materials. But we also teach clients how to tweak frequency live while previewing results—this feedback loop builds confidence fast.
How to laser engrave an outline?
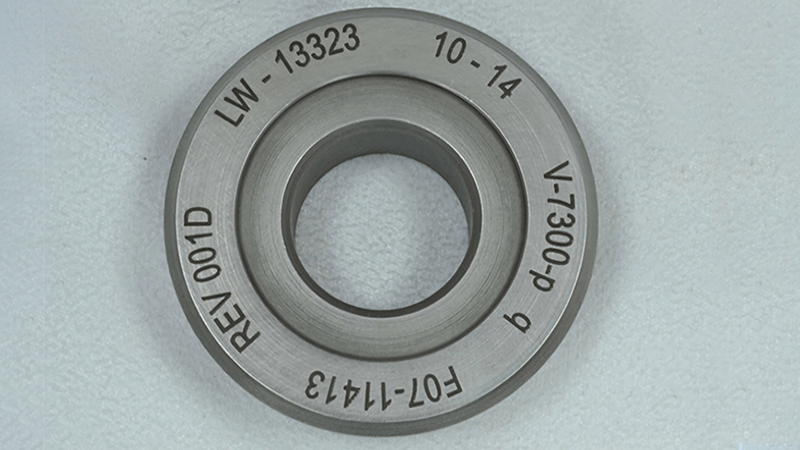
Not every mark needs to be deep. Sometimes, a clean outline is enough—especially for logos, text, or serial numbers. But poor focus or wrong speed can distort outlines or cause double lines.
To engrave a clean outline, use “line” or “outline” mode in your laser software. Set low power and moderate speed. Focus sharply, and check for overlaps in the design path.
From Concept to Precision
Design Mode Matters
In software like EZCAD, switch the engraving mode to Outline or Hatch with border only. This tells the laser to trace the shape’s perimeter, not fill it.
| Mode | Function |
|---|---|
| Fill | Covers area inside shape |
| Outline | Marks only borders |
| Combined | Adds depth and clarity |
Key Settings
| Setting | Suggested Range |
|---|---|
| Power7 | 10–20% (for outline) |
| Speed | 500–1200 mm/s |
| Frequency | 50–60 kHz |
Focus and Alignment
Outlines are sensitive to focus. Use a fine focus ruler or autofocus to get sharp edges. Also, check your design in the software for double lines or intersecting nodes.
Client Example
One furniture client used to engrave a filled logo on wood. It looked burnt and bulky. We helped him switch to outline mode with 15% power and 700 mm/s speed. The result was crisp, elegant branding—customers loved the upgrade.
At Kirin Laser, we emphasize training teams to distinguish between marking modes. Outline8 mode saves time, reduces smoke, and enhances contrast—especially on light-colored materials.
Conclusion
Using a laser marking machine9 goes beyond pressing a button. You need to understand setup, prepare the workspace, master frequency and power, and choose the right engraving mode. At Kirin Laser, we don’t just ship machines—we guide clients to get real, repeatable results. From deep metal marks to subtle outlines on plastic, the right setup and small tweaks make all the difference. Whether you’re a new user or scaling production, mastering these fundamentals is key to success in laser marking.
-
Discover the top marking software options to enhance your laser's performance and ensure seamless software configuration. ↩
-
Discover why even factory-calibrated machines need real-world testing for optimal laser performance and accuracy. ↩
-
Explore this link to discover top-rated laser machines that enhance engraving quality and efficiency. ↩
-
Learn how calibration targets can significantly improve your engraving precision and overall results. ↩
-
Understanding laser frequency is crucial for optimizing laser performance and achieving high-quality results in various applications. ↩
-
Exploring the advantages of pulsed energy can enhance your knowledge of laser applications and improve your project outcomes. ↩
-
Understanding power settings is crucial for achieving the best results in laser engraving; learn more to optimize your projects. ↩
-
Explore how Outline mode can enhance your engraving quality and efficiency, making your designs stand out. ↩
-
Find the best laser marking machine and laser marking solutions from Kirin Laser, clicking this link to get all your needs for your needs. ↩