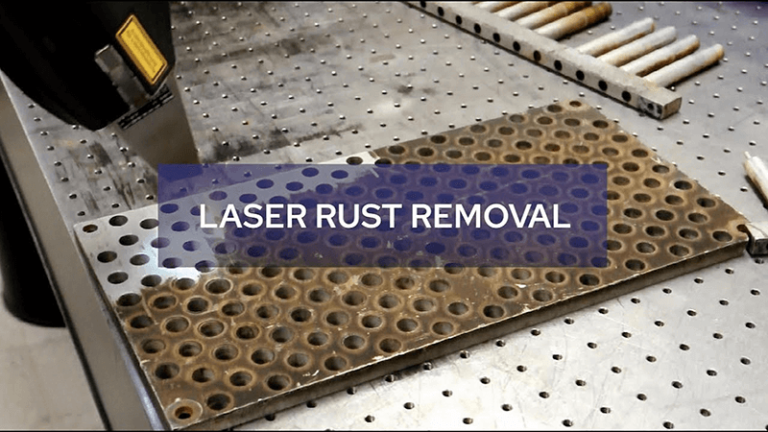
Ever felt frustrated with the inconsistencies in your laser marking on metals? You're not alone. Many manufacturers struggle with achieving the precision needed for high-quality results. But fear not, because there are proven techniques and best practices that can make your laser marking process flawless.
Achieving precision in laser marking involves a combination of selecting the right materials, fine-tuning laser parameters, and employing the correct techniques. By focusing on these aspects, you can significantly enhance the quality and accuracy of your markings.
Ready to dive deeper? I am a technical engineer who has been working in laser marking for many years. If you are interested, let's explore the ins and outs of precision laser marking on metals and discover how you can master this art.
What is Precision Laser Marking?
Precision laser marking is the process of using a focused laser beam to create permanent markings on metal surfaces. These markings can range from simple text and serial numbers to intricate designs and logos. The key is achieving high accuracy and consistency in these markings, which is crucial for applications in industries like aerospace, medical devices, and automotive.
Key Factors for Achieving Precision
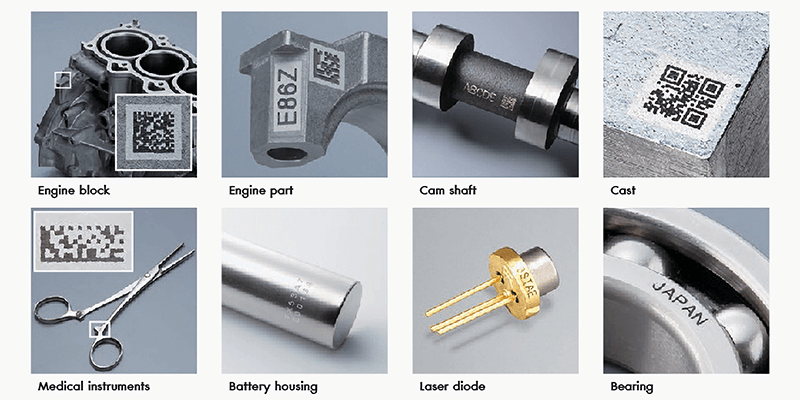
What type of material can be laser marked and engraved
When it comes to precision laser marking, several factors play a crucial role. First and foremost is the type of material you're working with. Different metals respond differently to laser marking, so understanding the material properties is essential.
So, what types of materials can we use laser to mark or engrave? Here’s a comprehensive list of materials that can be effectively marked or engraved using laser technology:
1. Metals
- Steel and Stainless Steel: Ideal for durable, corrosion-resistant markings.
- Aluminum: Commonly used in aerospace and automotive industries for lightweight components.
- Copper and Brass: Often used in electrical and decorative applications.
- Gold, Silver, and Platinum: Typically used for jewelry and high-end electronics.
- Titanium: Known for its strength and biocompatibility, used in medical devices and aerospace components.
2. Plastics
- ABS (Acrylonitrile Butadiene Styrene): Common in automotive parts and consumer electronics.
- Polycarbonate: Used in durable goods like eyewear and safety equipment.
- Acrylic (PMMA): Frequently used in signage and displays.
- Polyethylene and Polypropylene: Found in packaging and containers.
- Polyester and Polyimide: Used in labels and flexible circuits.
3. Wood
- Hardwoods (e.g., Oak, Maple, Cherry): Often used for furniture and decorative items.
- Softwoods (e.g., Pine, Cedar): Common in construction and crafts.
- Plywood and MDF (Medium-Density Fiberboard): Used in furniture and cabinetry.
4. Glass and Ceramics
- Glass: Used in decorative items, awards, and drinkware.
- Ceramics: Common in industrial components and art pieces.
5. Fabrics and Textiles
- Natural Fabrics (e.g., Cotton, Wool, Silk): Used in fashion and upholstery.
- Synthetic Fabrics (e.g., Polyester, Nylon): Common in sportswear and outdoor gear.
- Leather: Used in fashion, accessories, and upholstery.
How to set the laser marking parameters
Laser parameters are another critical factor. Excepting choosing the right wavelength, adjusting power and speed of the laser can make a significant difference in the marking quality. It's like tuning a musical instrument; each adjustment brings you closer to perfection.
So, how to adjust such parameters for laser marking or engraving? Since different materials use different parameters, here I will introduce a basic guideline for modulation parameters. Specific parameters can be set according to this scheme.
1. Laser Power: Controls the energy of the laser beam.
Higher Power: Increases marking depth and speed but can cause more thermal damage (suitable for metals) .
Lower Power: Produces finer and more detailed engravings with less material damage (suitable for plastics and delicate materials) .
2. Marking Speed: Determines how fast the laser moves across the material.
Faster Speed: Reduces heat impact and is ideal for surface markings .
Slower Speed: Increases the depth of the mark, suitable for deeper engravings .
3. Frequency: The number of laser pulses per second.
Higher Frequency: Results in smoother cuts and engravings, ideal for detailed work on plastics and metals .
Lower Frequency: Produces rougher edges, useful for deeper engravings on tougher materials .
4. Focus Distance: The distance between the laser lens and the material surface.
Proper Focusing: Ensures the laser energy is concentrated for clean and precise markings.
Defocusing: Can be used for achieving specific marking effects or working on curved surfaces .
5. Scan Pattern and Line Interval: Defines the pattern the laser follows.
Hatch Spacing: Closer lines produce smoother surfaces, while wider spacing can speed up the process but may reduce quality .
Overlap: More overlap between lines enhances the mark's visibility and depth .
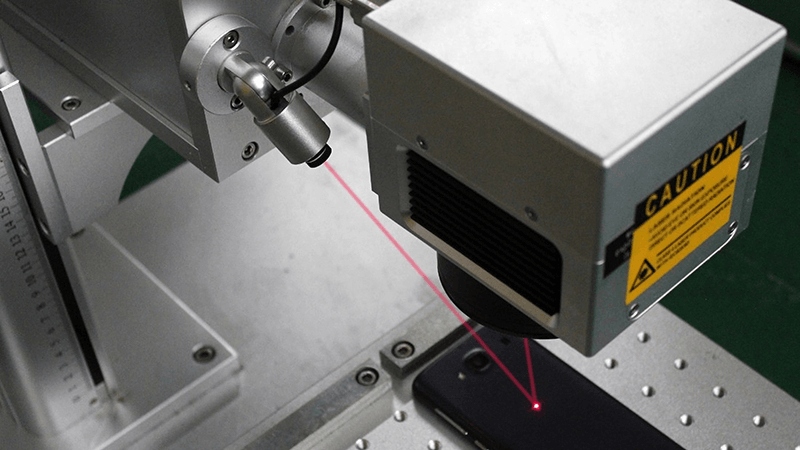
How to make the laser beam focus on the material surface before marking
Proper focus and alignment are also vital. A misaligned laser can result in blurry or uneven markings, so ensuring that the laser beam is perfectly focused on the material surface is a must.
How to adjust the focusing point before marking? Here is the steps for focus the laser beam.
- Identify the Focal Length: The focal length is the distance from the f-theta lens to the point where the laser beam converges to its smallest point. This information is usually provided by the manufacturer.
- Prepare the Material: Place the material on the work table of the laser marking machine. Ensure that it is flat and stable.
- Use a Focus Tool: Many laser marking machines come with a focus tool (also known as a focus gauge or focus stick). This tool helps set the correct distance between the laser head and the material.
- Adjust the Z-Axis: Adjust the height of the laser head or the work table (depending on your machine) to match the focal length. This is usually done through the machine's control panel or software.
- Check the Spot Size: Turn on the laser at low power and create a test mark or dot on a scrap piece of the same material. Observe the spot size. The smallest and most precise spot indicates the correct focus.
- Fine-Tune the Focus: If the spot size is not minimal, adjust the laser head or table height slightly up or down and repeat the test mark until the smallest spot is achieved.
- Automatic Focusing (if available): Some advanced laser marking machines come with an autofocus feature. This feature uses sensors to automatically adjust the laser head to the correct focal distance. If your machine has this feature, enable it and follow the on-screen instructions.
- Using Focus Software: Certain laser marking systems include software that assists in focusing. This software may provide visual feedback or measurements to help achieve the correct focus.
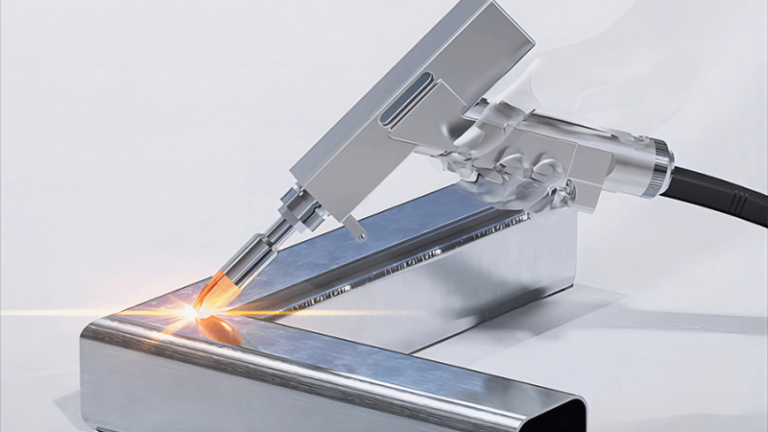
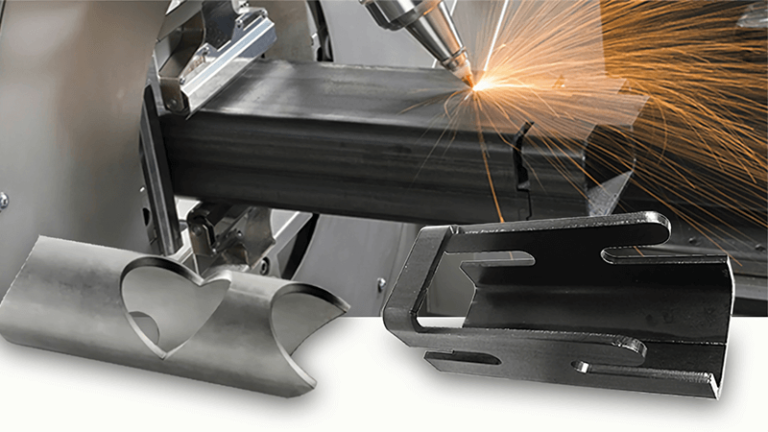
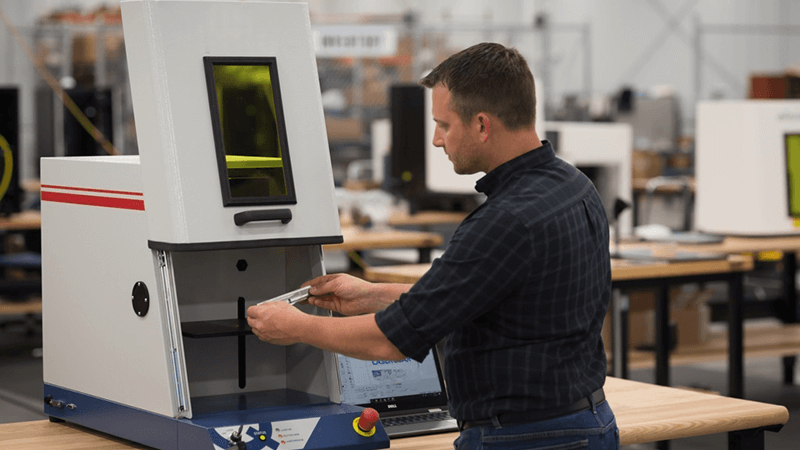
Choosing the Right Laser Marking Machine
Selecting the appropriate laser marking machine is a game-changer. There are various types of machines, including fiber lasers, CO2 lasers, and UV lasers, each suited for different applications. For metal marking, fiber lasers are often the go-to choice due to their efficiency and precision.
When choosing a machine, look for features like adjustable laser parameters, high-speed marking capabilities, and user-friendly software. These features can greatly enhance your ability to achieve precise and consistent markings. Here is a attached table for your reference.
| Feature/Aspect | Fiber Laser Marking Machine | CO2 Laser Marking Machine | UV Laser Marking Machine |
| Laser Type | Fiber Laser | CO2 Laser | Ultraviolet (UV) Laser |
| Wavelength | 1064 nm | 10.6 μm | 355 nm |
| Material Compatibility | Metals (steel, aluminum, copper), Plastics | Non-metals (wood, acrylic, glass, paper), Plastics | Plastics, Glass, Ceramics, Metals (with coating) |
| Marking Depth | Can be deep | Typically shallow | Shallow |
| Heat Impact | Higher heat impact, can cause thermal stress | Moderate heat impact, suitable for organic materials | Minimal heat impact, cold marking process |
| Precision | High | Moderate | Very High |
| Application Examples | Metal engraving, electronic components, tools | Wood engraving, glass marking, leather goods | Medical devices, electronics, delicate materials |
| Cooling System | Air-cooled | Typically air-cooled | Usually water-cooled |
Techniques for Enhanced Precision
Clean and prepared surfaces are essential for precision laser marking. Any contaminants or irregularities on the surface can affect the marking quality. So, always ensure that your metal surfaces are clean and smooth before starting the marking process.
Using the correct marking method is also crucial. Depending on your application, you might choose annealing for creating oxidation marks, etching for a deeper cut, or engraving for a more pronounced mark. Each method has its advantages and is suited for different types of applications.
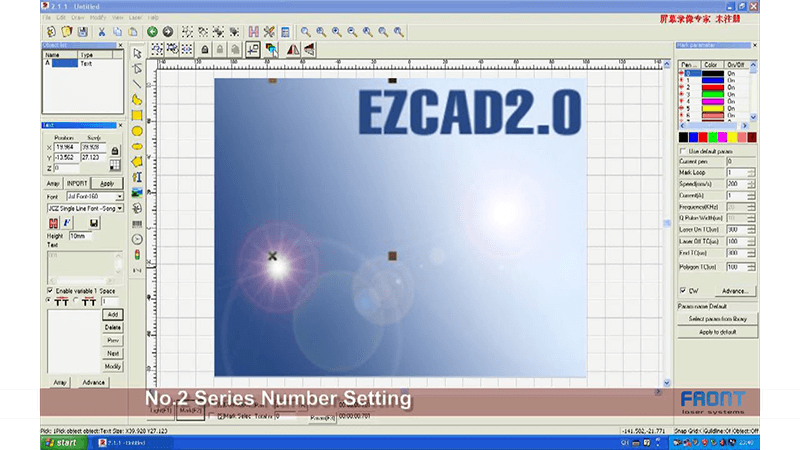
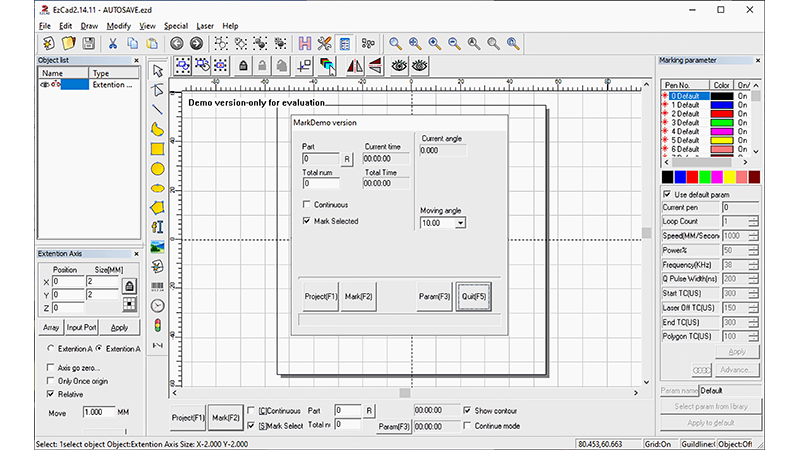
Advanced software and automation tools can further enhance precision. These tools allow for better control over the marking process, enabling you to achieve consistent results with minimal effort.

Common Challenges and Solutions
One common challenge in laser marking is dealing with material inconsistencies. Different batches of metal can have varying properties, affecting the marking quality. To overcome this, it's important to test and calibrate your laser settings for each batch.
Managing heat effects is another challenge. Excessive heat can cause damage to the material or result in unwanted color changes. By fine-tuning the laser parameters and using cooling techniques, you can minimize these effects and ensure high-quality markings.
Consistency is key in laser marking, especially for large production runs. Implementing quality control measures and regularly inspecting the markings can help maintain consistency across batches.
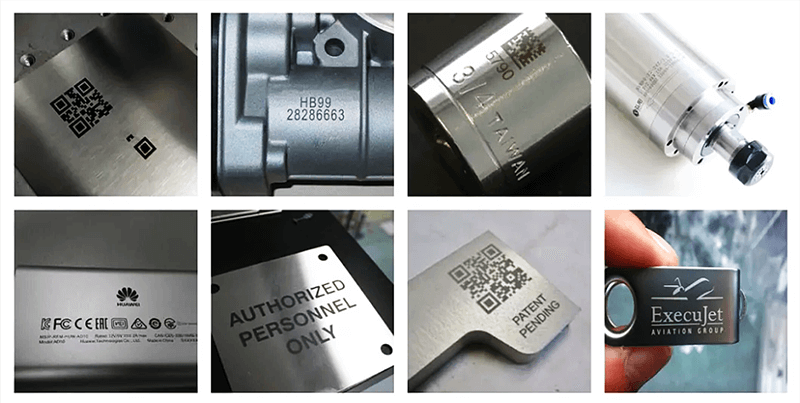
Real-world Applications
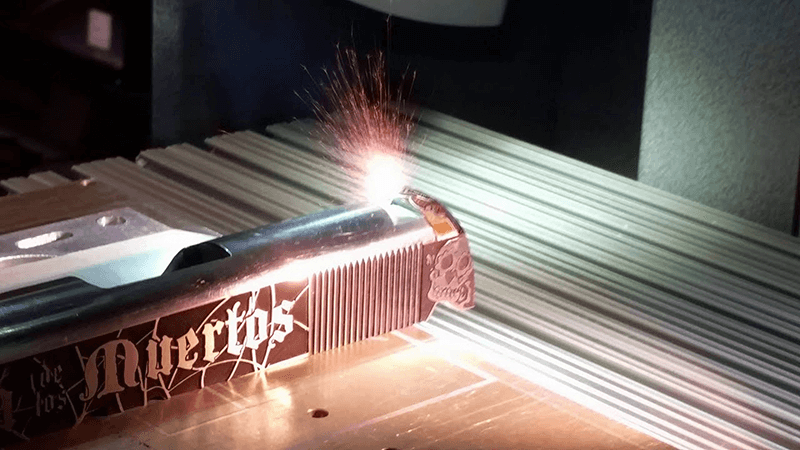
Precision laser marking has a wide range of applications across various industries. In the aerospace industry, it's used for marking parts with critical information, ensuring traceability and compliance with regulations. The medical device industry relies on precise markings for labeling surgical instruments and implants, where accuracy is paramount. Here is a blog about laser engraving for firearms.
Conclusion
Achieving precision in laser marking on metals requires attention to detail, the right equipment, and proper techniques. By focusing on material preparation, adjusting laser parameters, and using advanced tools, you can significantly improve your marking quality. So, why wait? Start implementing these strategies today and see the difference in your laser marking results! If you have new materials which you are not sure which laser is suitable, or how to adjust the parameters, please feel free to contact us. I will get you the best solutions.