I hear this question a lot. Many people want to try laser engraving. They fear the learning curve. I get it. New machines can look hard. The truth is simple. You do not need many skills. You need a clear guide, a few practice runs, and the right machine.
No. You do not need many skills to use a CO2 laser engraver. Modern machines use simple controls and friendly software. I teach beginners how to use material presets, focus tools, and safe airflow in under an hour. After a few test passes, most users produce clean and consistent results.
I build and supply CO2 laser engravers at Kirin Laser. I design our systems for real users, not for labs. I focus on clear buttons, strong safety, and steady output. I also support wholesalers and distributors who train teams fast. So I see what works. I use the same steps when I train our own new staff. Let me walk you through it.
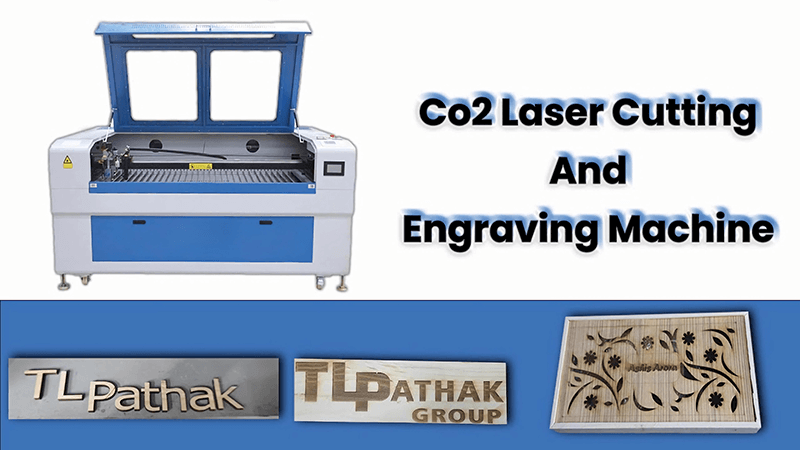
Can a beginner use a laser engraver?
Many new users think they need weeks of classes. They worry about power, speed, and dpi. They fear smoke and fire. They worry about software. I help them break the fear. I show a short path. I use one small project. I set simple rules. Then the fear goes away.
A beginner can use a CO2 laser engraver with a simple plan. Start with safety and ventilation. Use presets for wood, leather, or acrylic. Focus the lens with a gauge. Test a small square at low power. Step up power in small moves. Save the best setting. Then run the real job.
How I train a first-time user
I use one story from my work. A client came to us. They tried to engrave wooden keychains for a local event. The marks looked light. The edges burned. They felt lost. I sat with them for 30 minutes. I showed the air assist switch1. I set the focus with the metal gauge. I picked a wood preset in the software. I ran a power-speed test grid2. I circled the best cell with a marker. We saved those settings with a clear name. They ran the batch the same day. The keychains looked sharp. The burn marks were gone. Their customers were happy. Their sales went up.
Starter checklist I use
- Safety: close the lid, turn on exhaust, keep a fire blanket nearby
- Focus: use the focus gauge, lock the z height, clean the lens with a wipe
- Material: pick the right preset, tape edges if the wood smokes, keep the surface flat
- Test: run a 20 mm square at low power, step up until lines look clean and dark
- Save: name the profile with material, thickness, and date
- Repeat: use the same steps for the next job
Simple skill map for day one
| Step | What I do | Why it helps | Kirin Laser tip |
|---|---|---|---|
| Power check | Warm up, home axes | Finds limits and zero | Add a 3-point home test |
| Focus | Use gauge or auto-focus | Keeps spot small | Clean lens before each job |
| Material | Set preset | Removes guesswork | Use a label on each sheet |
| Test grid | Vary power/speed | Finds sweet spot | Save and share profile |
| Air assist | Turn on | Reduces burn marks | Use steady airflow |
| Run job | Watch the first pass | Catches errors fast | Pause if smoke builds |
I keep the language simple in training. I keep the steps few. A beginner can do this. I see it every week in our lab and with our partners.
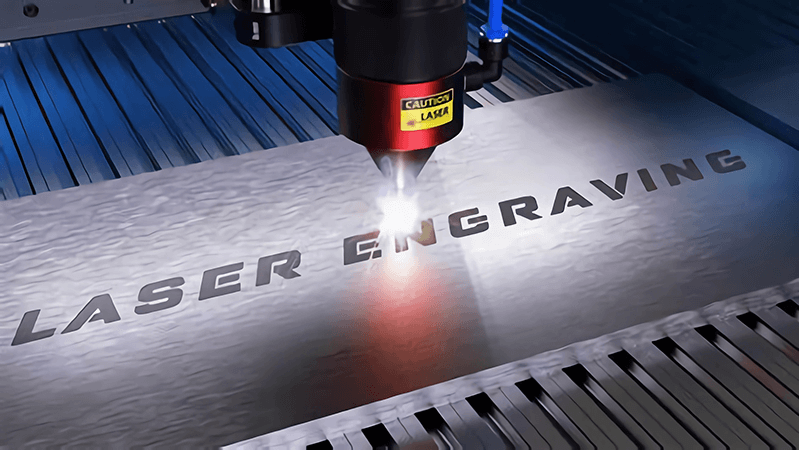
Are laser engraving machines easy to use?
I design our CO2 machines to be easy. I use clear icons. I use one main dial or keypad. I add large emergency stop. The software shows live previews. The camera add-on helps with alignment. The presets cover wood, acrylic, leather, paper, and more. I do not hide settings. I show default values. I show warnings in plain text.
CO2 laser engraving machines are easy to use if the machine is set up well. Ease comes from stable mechanics, good airflow, clean optics, and friendly software. With these parts in place, users only pick a material, focus the lens, test a small square, and start the job.
What makes a CO2 engraver feel easy
Ease is not a buzzword for me. It is a stack of real things that I control during design and build. I look at the frame. I look at belts and rails. I look at the tube and the power supply. I look at airflow and filters. I tweak the software and presets with our support team. Ease shows up when you press start and the line stays clean on the full bed, not just in the corner. Ease is the same result at the end of a long day, not just on the first job.
Key parts that drive ease
- Mechanics: rigid gantry, smooth rails, tight belts
- Optics: clean lens, aligned mirrors, stable spot size
- Power: steady CO2 tube3, matched PSU, clean wiring
- Airflow: strong exhaust, steady air assist, safe ducting
- Software: live preview4, camera assist, material library, job queue
- Support: clear guide, fast replies, spare parts on hand
Ease-of-use table you can check
| Area | What to look for | Why it matters | Kirin Laser practice |
|---|---|---|---|
| Frame | Steel or heavy alloy | Less vibration, cleaner lines | We use stiff beams and cross braces |
| Rails | Linear guides | Smooth motion at speed | We spec matched bearings |
| Optics | Easy-clean access | Fast maintenance | Front lens door and spare kits |
| Air assist | Adjustable flow | Less char and flare | Built-in regulator |
| Exhaust | Rated for bed size | Removes smoke and smell | Right-sized blower and hose |
| Software | Presets + camera | Faster setup and alignment | Pre-tuned library and optional camera |
| Safety | Lid interlock, E-stop | Safer work | Dual interlocks and big E-stop |
When I hand a machine to a new user, I want them to feel calm. The panel is clear. The first job runs clean. The door closes with a safe click. The preview matches the final part. That is ease. That is the design goal in Kirin Laser.
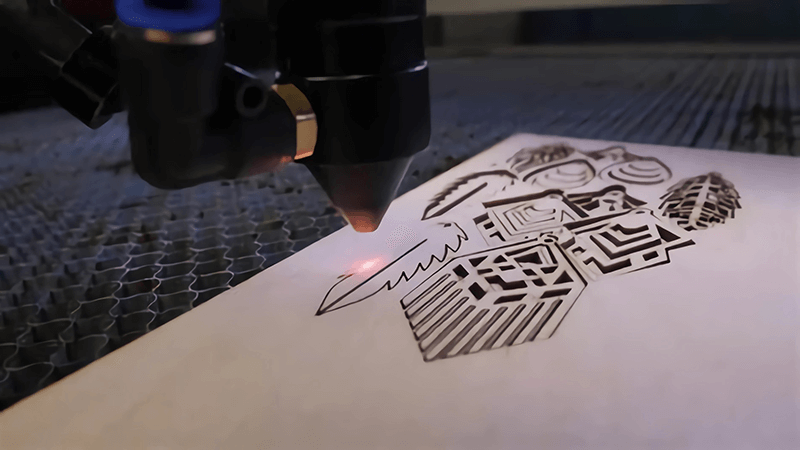
What is the best laser engraver for beginners?
I get this question in every call. People want a clear answer. I give one, but I make sure it fits the user. Work area, materials, budget, and support all matter. I will share my beginner pick and why I choose it. I will also show how I think.
The best beginner CO2 laser engraver is the one that balances safety, presets, work area, and support. For most new users, I suggest a 60W CO2 model with a 500 x 300 mm bed, air assist, camera option, and a preset library. It runs wood, acrylic, leather, and coated metals for marking.
My typical beginner recommendation
I guide wholesalers and small shops. Many need a safe start. They need clean marks on wood signs, leather goods, acrylic tags, and coated tumblers. They do not cut thick boards. They care about speed and repeat jobs. My go-to pick is our 60W desktop CO25 with air assist and camera. It has a rigid frame. It has clear software. It ships with presets for common materials. It fits in small rooms with proper exhaust6. It plugs into a standard line in most regions.
What matters when you choose
- Wattage: 40–60W for engraving and light cutting
- Bed size: 300 x 200 mm for small goods, 500 x 300 mm for more room
- Air assist: must-have for clean edges
- Exhaust: must-have for clear air and safe smoke control
- Camera: nice to have for fast alignment
- Autofocus: nice to have if you swap materials often
- Software: presets and a live preview help a lot
- Support: spare parts and clear guides save time
Beginner-focused feature matrix
| Feature | Minimum I suggest | Good for beginners | Why it helps | Kirin Laser note |
|---|---|---|---|---|
| Power | 40–60W CO2 | Engraving + light cuts | Enough power, not overkill | 60W covers most hobby and small biz needs |
| Bed | 500x300 mm | Medium projects | Room to grow | Fits many jigs and fixtures |
| Air assist | Included | Clean engraves | Less burn, sharper detail | Built-in regulator and nozzle |
| Exhaust | External blower | Clean air | Safer shop | Right size fan for bed area |
| Camera | Optional | Fast placement | Fewer misalignments | Works with our software preview |
| Autofocus | Optional | Easy focus | Less setup time | Reliable sensor and manual override |
| Software | Preset library | Simple start | Less guesswork | We ship pre-tuned materials |
| Safety | Lid interlock + E-stop | Safer runs | Peace of mind | Dual-circuit interlock |
If you want my simple answer, here it is. Start with a 60W CO2, 500 x 300 mm bed, air assist7, and a preset library8. Add a camera if you place art on odd shapes. Then learn with small test grids. Save your profiles. That is the fastest way I know.
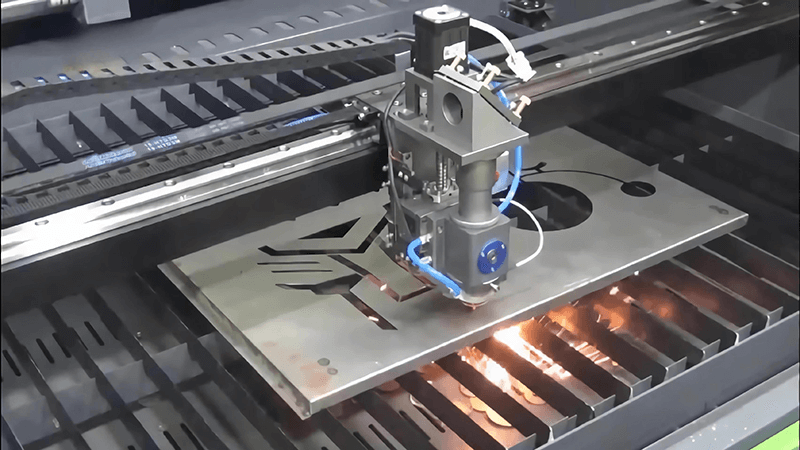
Can a laser engraver cut wood?
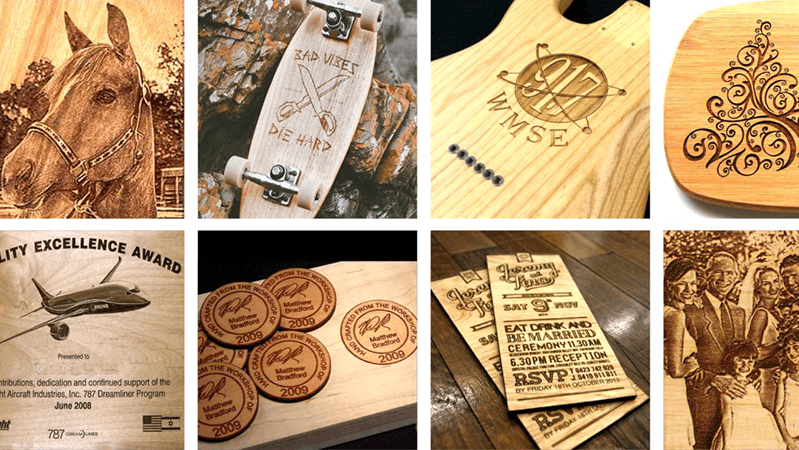
Many people ask this after they see a crisp logo on wood. They wonder if the same machine can cut. The answer is yes. A CO2 laser engraver can cut wood within limits. The cut quality depends on power, speed, focus, and airflow. The type of wood also matters.
Yes, a CO2 laser engraver can cut wood. A 40–60W unit cuts thin plywood, basswood, and MDF sheets in one or more passes. Clean edges need good air assist, proper focus, and a test grid to set power and speed. Dense hardwoods need more power or more passes.
How I set up for clean wood cuts
I set the bed flat. I use a honeycomb or knife bed to reduce back reflection. I turn on steady air assist9. I focus the lens to the surface. I run a cut test strip with a small shape. I start at moderate speed. I raise power until the piece drops clean. I watch the edge color. If the edge looks dark and fuzzy, I increase air or speed. I also try masking tape on the top face to reduce smoke marks. I remove tape right after the job, while the resin is still soft.
Wood types and tips I share
- Plywood: glue layers vary; use test cuts10; Baltic birch cuts cleaner
- MDF: cuts smooth; smells stronger; use more exhaust
- Basswood: cuts easy; good for crafts; low burn
- Hardwoods: cherry, maple, walnut; need more power; may need two passes
- Veneers: easy; low power; watch for warp
- Thickness: 2–5 mm is easy on 40–60W; 6–8 mm may need slower speed or more passes
Wood cutting quick guide
| Wood type | Typical thickness | 60W CO2 pass count | Notes | Kirin Laser tip |
|---|---|---|---|---|
| Basswood | 2–3 mm | 1 pass | Clean edge, low resin | Use fast speed to keep edge pale |
| Birch plywood | 3 mm | 1 pass | Glue varies by batch | Test each sheet; save profile by supplier |
| Birch plywood | 6 mm | 2 passes | Possible charring | Increase air, lower power on second pass |
| MDF | 3 mm | 1 pass | Smooth, darker edge | Strong exhaust to clear smell |
| Hardwood (maple) | 4 mm | 2 passes | Dense fiber | Focus between passes if needed |
| Veneer | <1 mm | 1 pass | Very easy | Use lower air to avoid lifting |
I have run thousands of wood cuts. I see the same pattern. Air assist makes the biggest difference. Focus and bed quality come next. Do not skip a test strip. Save your profile. Then repeat it with confidence.
Conclusion
I hear many fears around CO2 laser engraving11. I see them melt with a clear plan. You do not need many skills. You need a safe setup, a preset, and a test grid. Beginners can use a CO2 engraver in one day. A 60W model with a 500 x 300 mm bed is a strong start. It engraves clean and cuts thin wood with care. At Kirin Laser, I build machines for this path. I offer guides, presets, and fast support. If you want a simple start, I can help you set it up, train your team, and ship spare parts.
-
Understanding the air assist switch is crucial for achieving clean engravings and reducing burn marks. ↩
-
Learning to conduct a power-speed test grid helps optimize settings for better engraving results. ↩
-
Understanding the CO2 tube's function is crucial for optimizing engraving performance and ensuring quality results. ↩
-
Exploring live preview features can significantly improve your engraving setup and alignment efficiency. ↩
-
Explore the advantages of a 60W desktop CO2 laser engraver for efficient engraving and cutting. ↩
-
Understand the significance of proper exhaust systems for safety and air quality in laser engraving. ↩
-
Learn how air assist technology enhances engraving quality by providing clean edges and reducing burn. ↩
-
Discover how a preset library simplifies the engraving process and saves time for beginners. ↩
-
Understanding air assist can significantly improve your wood cutting quality and efficiency. ↩
-
Learning about test cuts will help you optimize settings for different wood types, ensuring cleaner results. ↩
-
Finding the best laser engraving machine and laser engraving solutions from Kirin Laser, clicking this link to get all your needs for your needs. ↩


